


How Do You Install Precast Concrete Stair Treads? A Step-by-Step Professional Guide
Precast concrete stair treads are widely used for exterior stairways, commercial buildings, apartment complexes, and renovations because they’re durable, consistent, and fast to install. But like any structural component, correct installation is essential for safety, longevity, and code compliance.
This comprehensive guide explains how precast concrete stair treads are installed, what tools are needed, preparation steps, common installation methods, and mistakes to avoid—whether you’re a contractor, builder, or experienced property owner overseeing the project.
Why Proper Installation Matters
Even the best-made stair treads can fail if they’re installed incorrectly. Proper installation ensures:
✔ Uniform step heights
✔ Secure load transfer
✔ Long-term durability
✔ Slip-resistant performance
✔ Proper drainage outdoors
✔ Compliance with building codes
Rushed or uneven placement can lead to cracking, shifting, water pooling, or trip hazards.
Tools and Materials Typically Used
Before installation begins, crews assemble the following:


Common tools include:
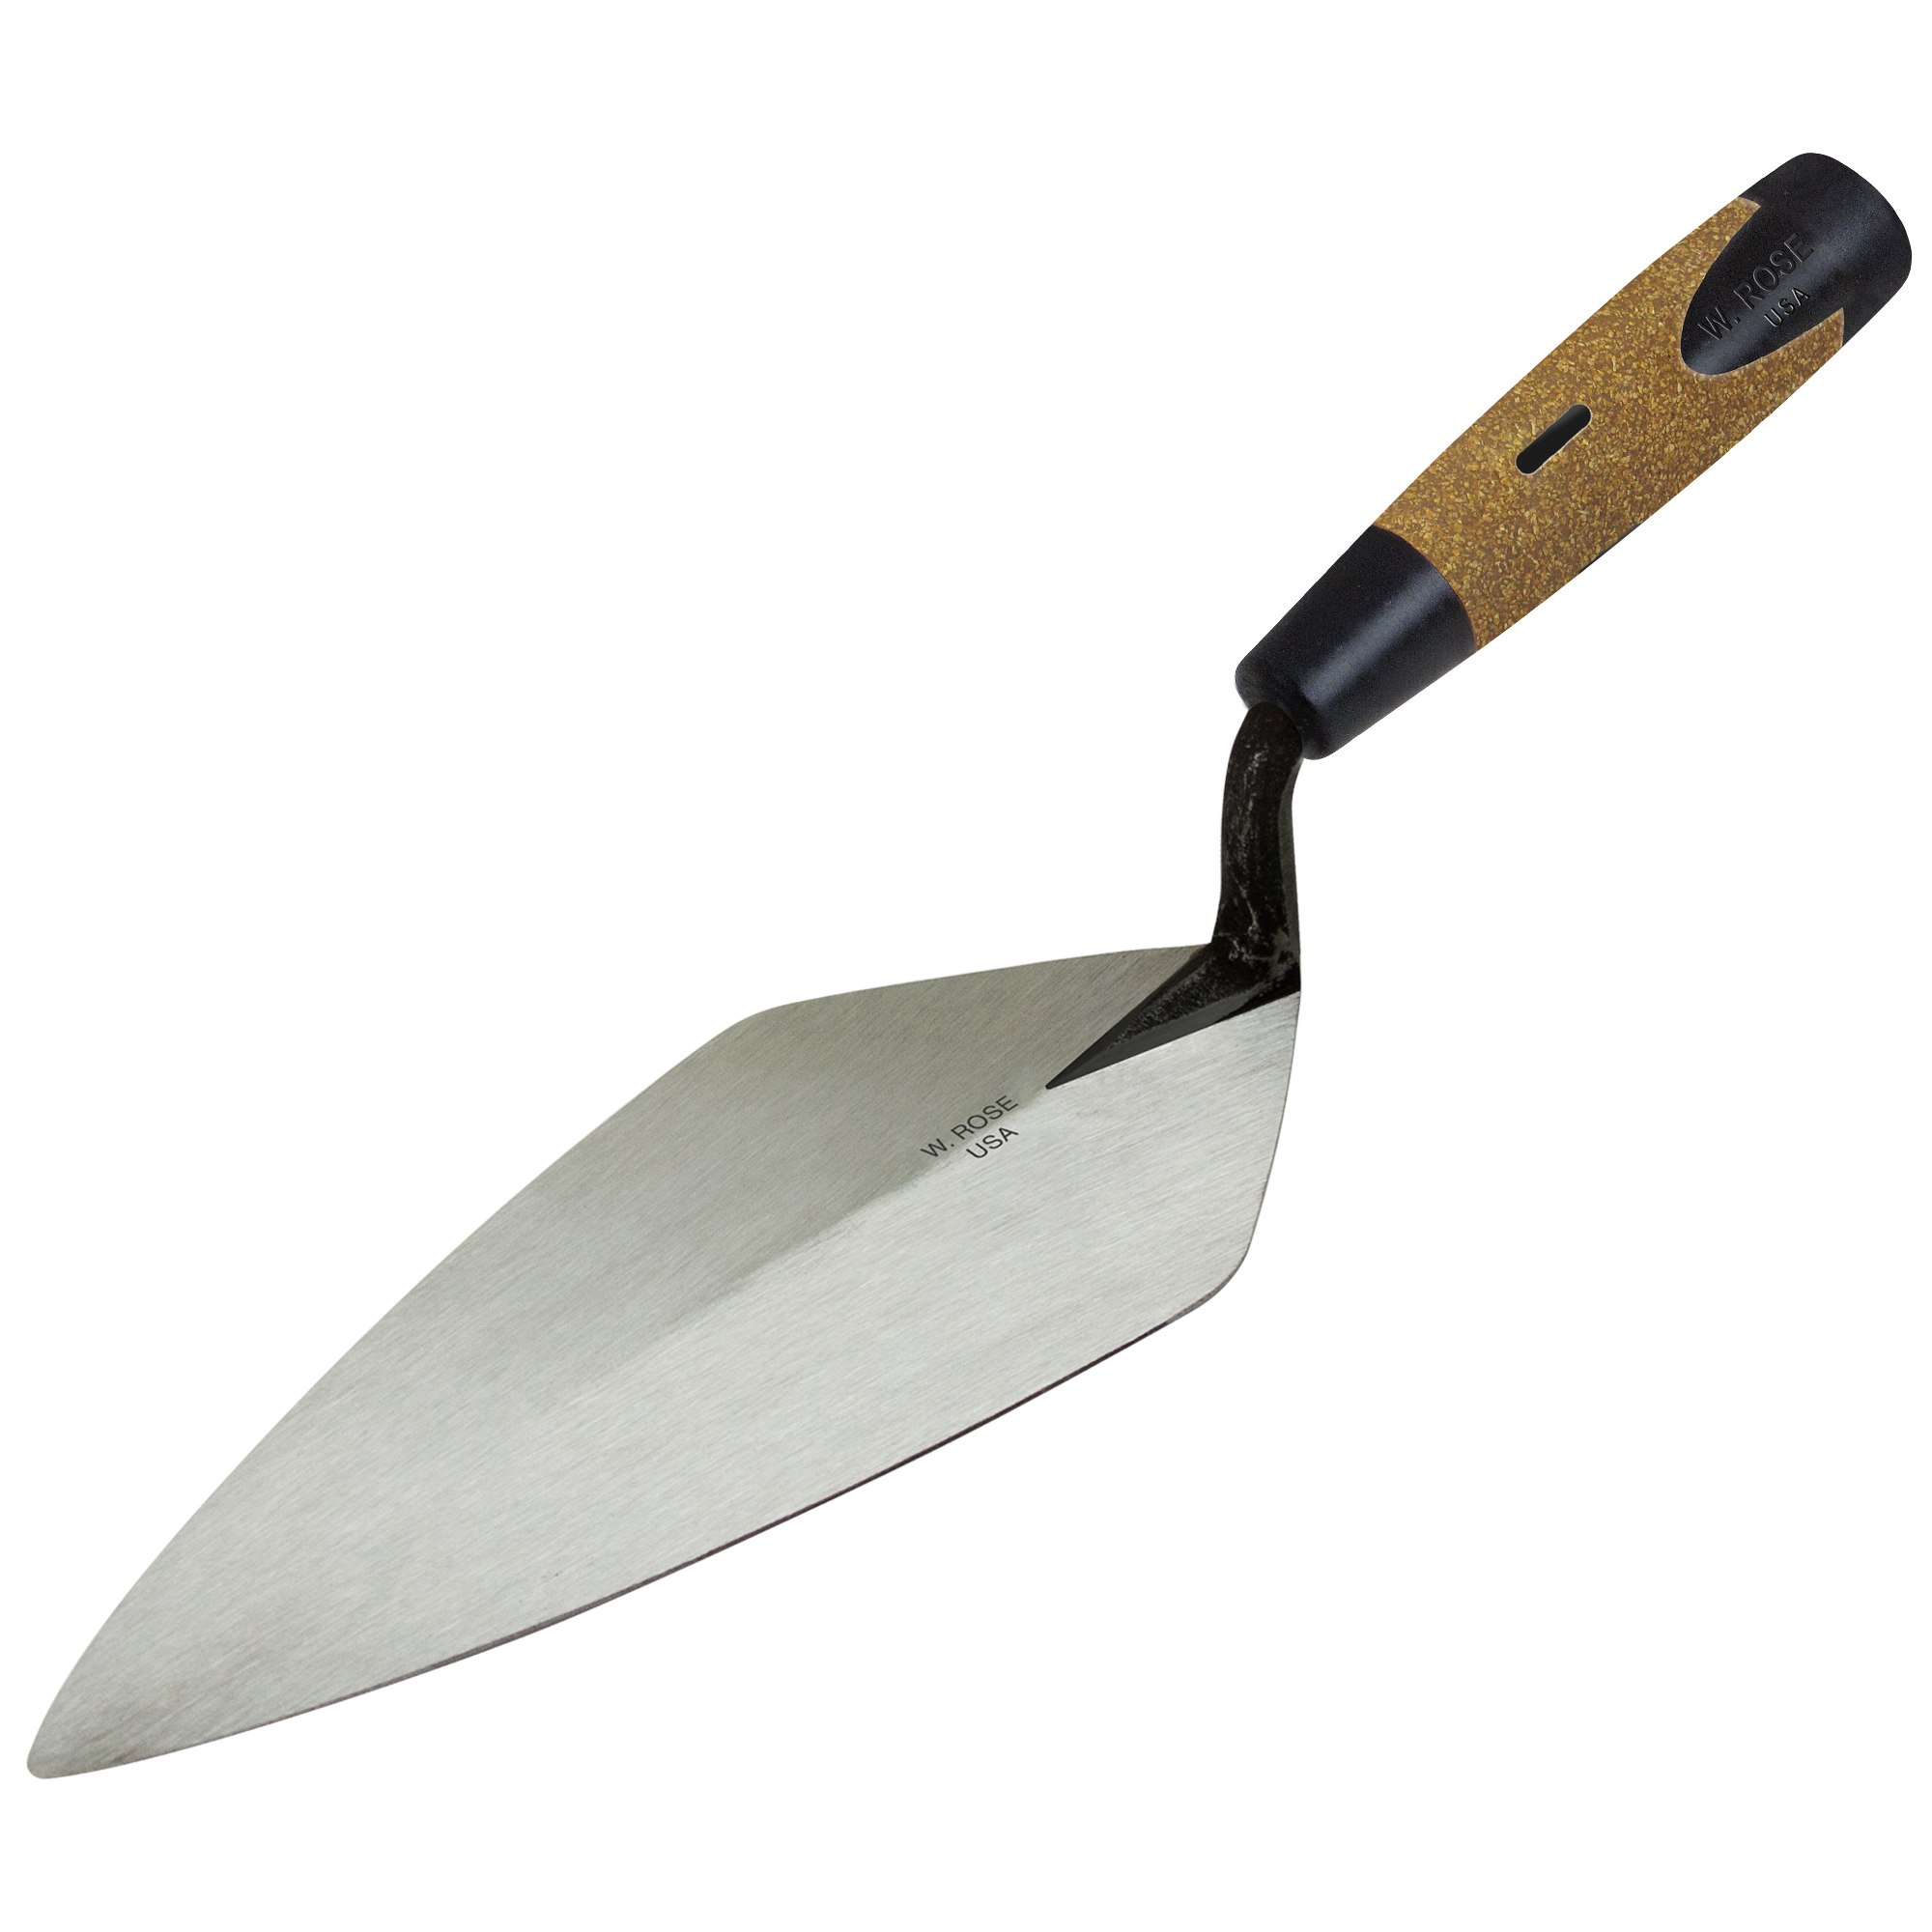
- Masonry trowels
- Buckets and mixing paddles
- Level and straightedge
- Tape measure
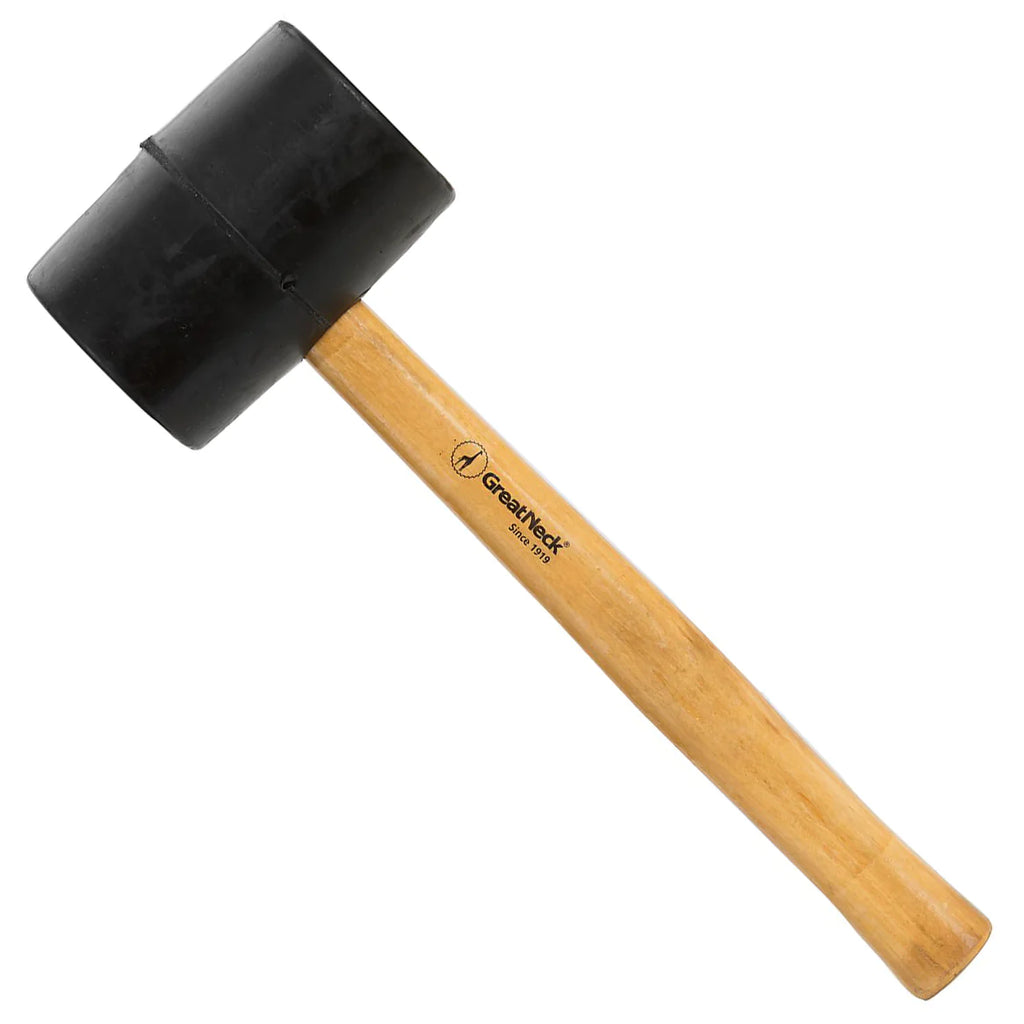
- Rubber mallet
- Shims or spacers
- Drill with masonry bits (if anchors are used)
- Safety gloves and eye protection
Typical materials include:
- Mortar or thin-set concrete mix
- Construction adhesive (in some systems)
- Mechanical anchors or clips
- Shims
- Sealant
- Grout or joint filler
Step 1: Inspect and Prepare the Stair Structure
Installation starts with a thorough inspection of the existing structure—whether steel stringers, masonry supports, or concrete bases.
Check for:
- Cracked or spalled concrete
- Rusting steel
- Loose framing
- Out-of-level surfaces
- Inconsistent riser heights
- Drainage problems
All structural issues should be corrected before placing new treads.
Exterior stairs may also require cleaning salt residue, debris, or organic growth that could interfere with bonding.
Step 2: Dry-Fit the Treads
Before applying mortar or adhesive, each precast tread should be placed temporarily to confirm:
- Proper width and depth
- Correct nosing projection
- Alignment with adjacent steps
- Fit against walls or railings
- Uniform riser heights
Dry-fitting prevents surprises once permanent materials are applied.
Step 3: Establish Level and Drainage
A slight forward pitch—usually just enough to shed water—is recommended for outdoor stairs.
Use a level and straightedge to:
- Verify side-to-side level
- Confirm front-to-back slope
- Check that each tread aligns with the one below
Shims may be used temporarily to fine-tune height before final setting.
Step 4: Set the Bedding Layer
Most precast concrete treads are installed over a mortar bed or structural setting compound.
- Spread an even layer over the support surface
- Comb or roughen the mortar for good adhesion
- Avoid hollow spots that could allow movement
- Work one step at a time
Some systems also incorporate construction adhesive or mechanical supports depending on engineering requirements.
Step 5: Place and Seat the Tread
With the bedding layer ready:
- Lower the tread carefully into position
- Tap gently with a rubber mallet
- Press until fully seated
- Re-check level and slope
- Adjust with shims if needed
Excess mortar squeezed out at the edges should be cleaned before it cures.
Step 6: Secure the Treads (If Required)
Depending on design, treads may be:
- Mortar-set only
- Anchored with mechanical fasteners
- Attached to steel clips or brackets
- Bonded with specialty adhesives
Engineering drawings or manufacturer recommendations always override general practices here.
Step 7: Fill Joints and Finish Edges
Once positioned:
- Fill joints between treads and risers
- Tool grout lines smoothly
- Seal perimeter gaps
- Ensure nosings are consistent
Exterior installations often include sealant at joints to prevent water infiltration.
Step 8: Cure and Protect
Fresh mortar or grout needs time to cure.
- Keep foot traffic off for the specified period
- Protect from rain or freezing temperatures
- Cover with plastic sheeting if needed
- Follow curing guidelines carefully
Premature use can weaken bonding and shorten lifespan.
Common Installation Configurations
Precast concrete treads are typically installed over:
- Concrete stair frames
- Masonry block structures
- Steel stringers
- Pre-formed concrete landings


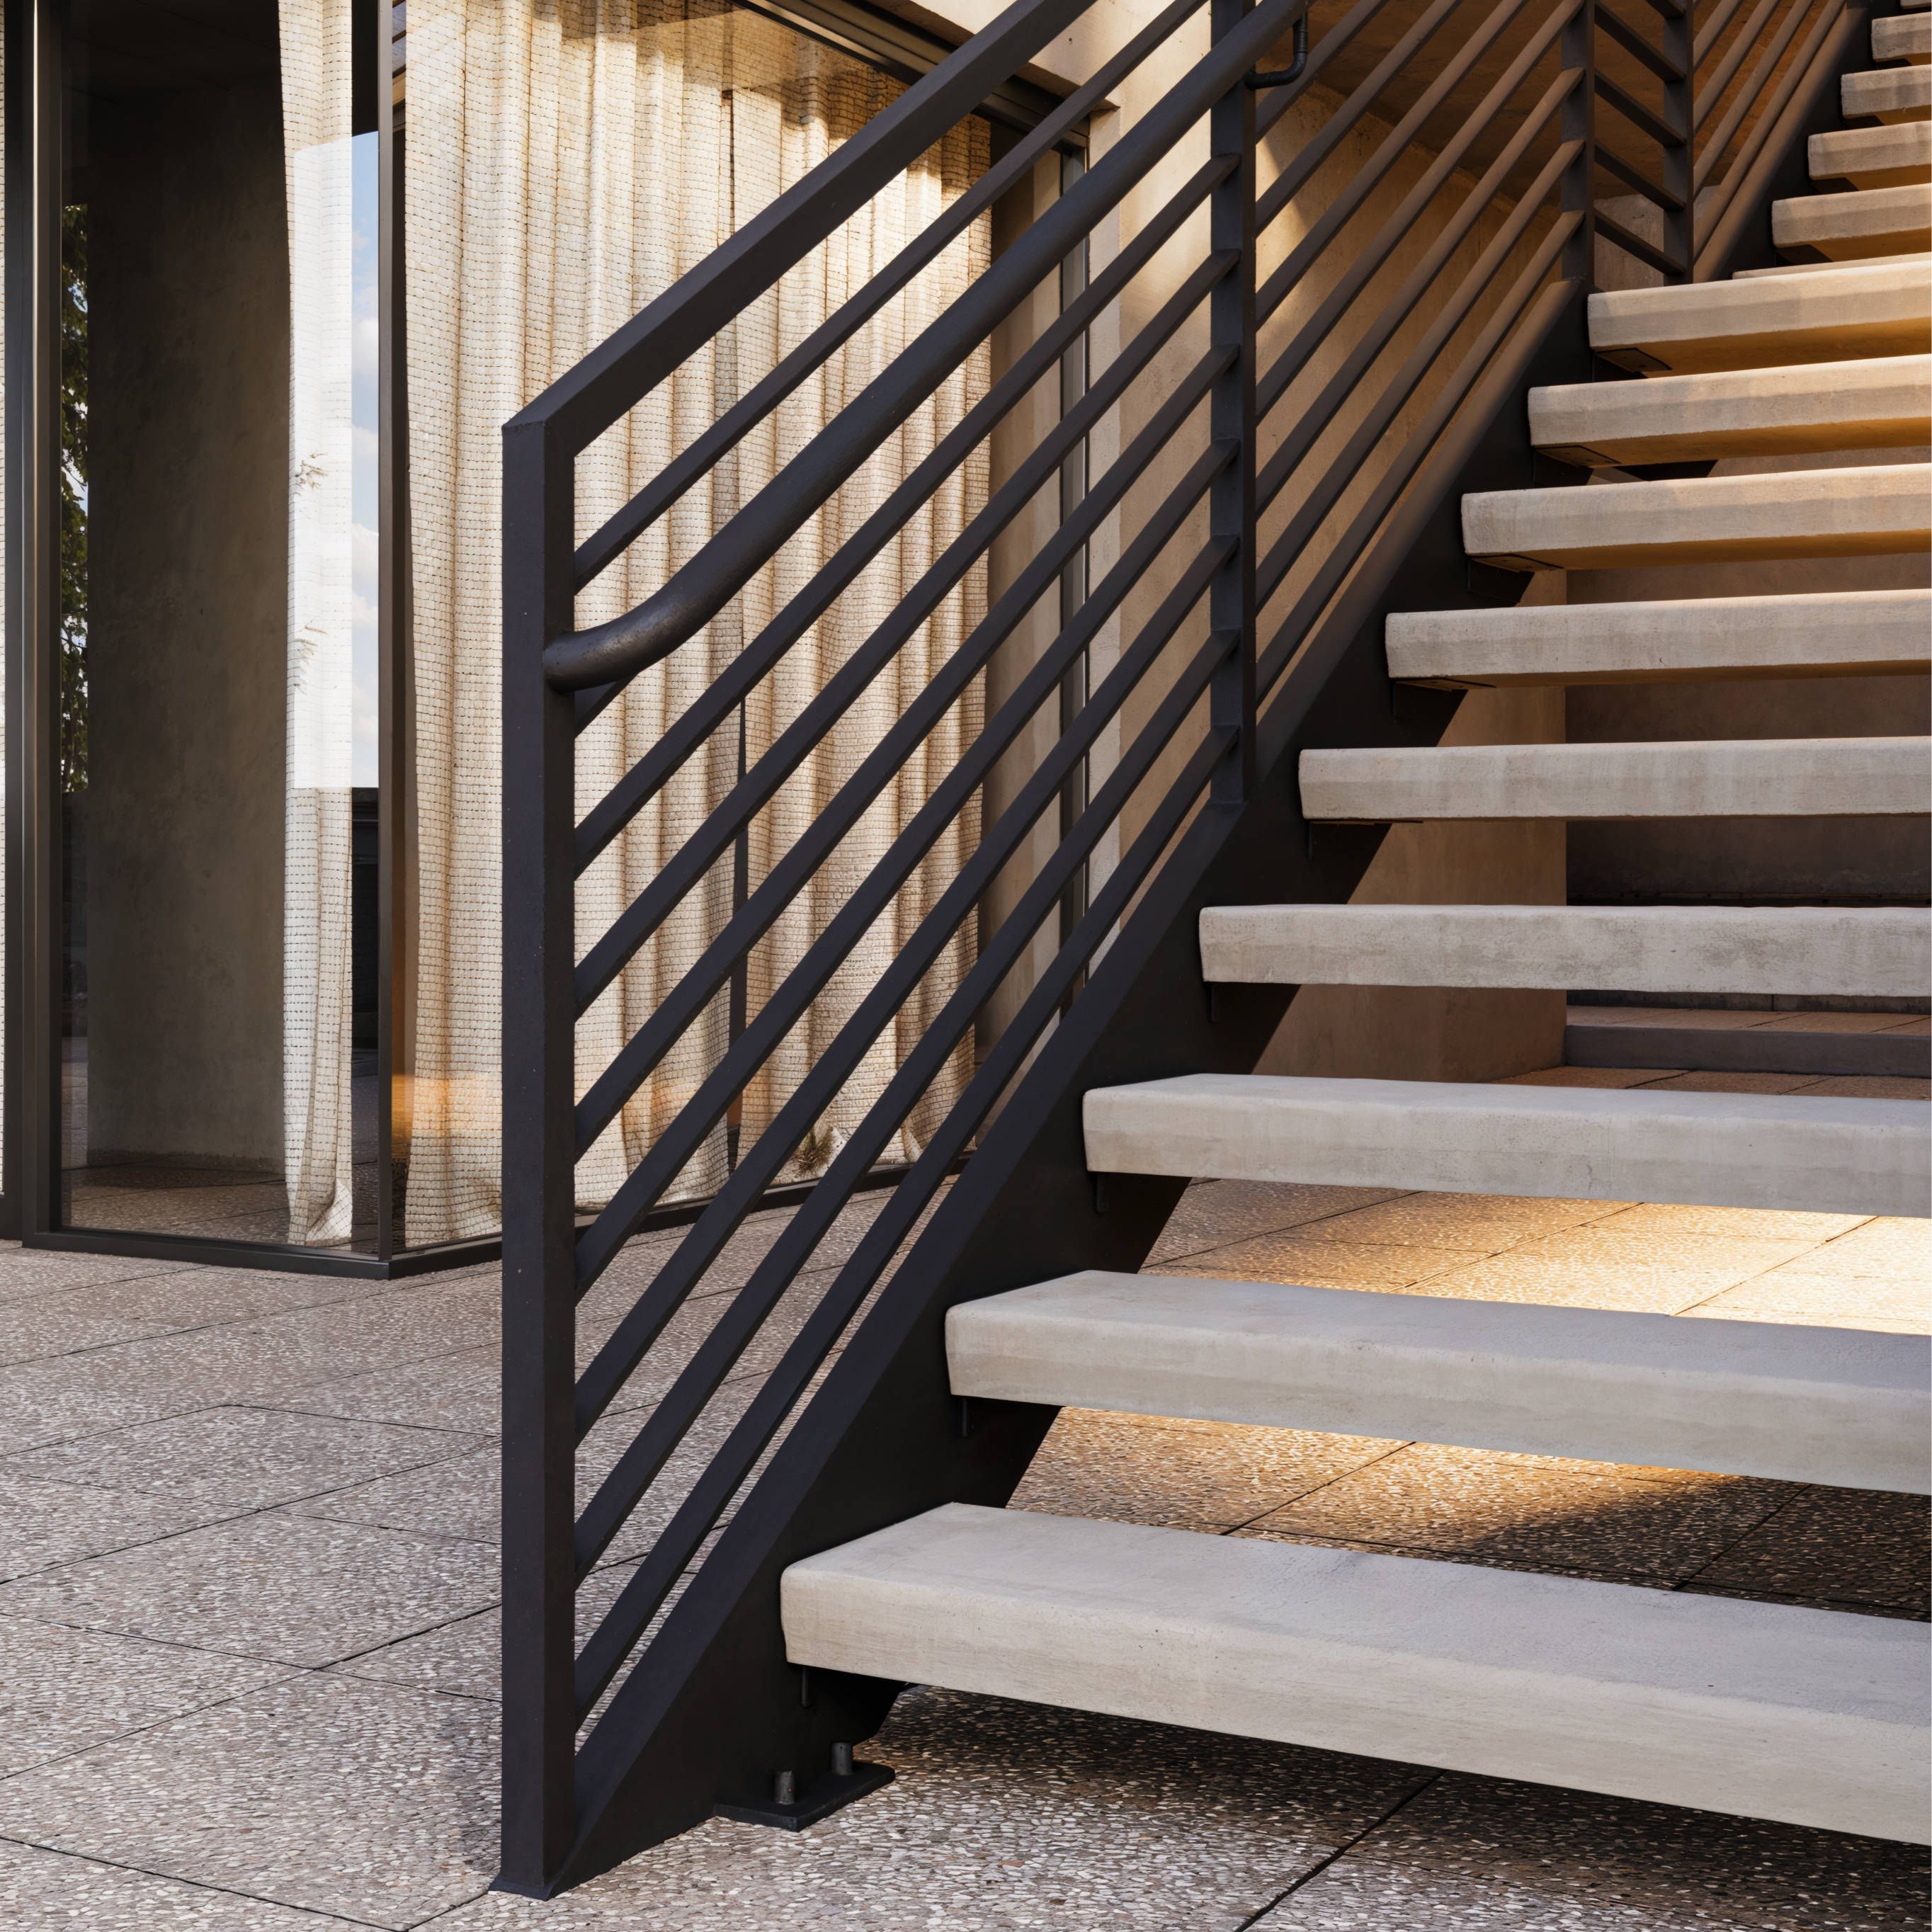

Each system requires slightly different anchoring and bedding methods, but the goals remain the same: solid support, consistent geometry, and weather-ready drainage.
Exterior-Specific Installation Tips
Outdoor stairs face additional challenges.
Be sure to include:
✔ Slight forward slope for drainage
✔ Freeze-thaw-resistant mortar
✔ Proper flashing at landings
✔ Textured tread surfaces
✔ Sealed joints
✔ Expansion gaps where required
Ignoring these details is one of the fastest ways to shorten service life.
Mistakes to Avoid
🚫 Skipping dry-fitting
🚫 Installing over unstable substrates
🚫 Creating uneven riser heights
🚫 Forgetting drainage slope
🚫 Leaving hollow mortar pockets
🚫 Allowing early foot traffic
🚫 Ignoring expansion allowances
Precision and patience are critical.
Should You DIY or Hire a Professional?
Small residential installations may be manageable for experienced builders, but commercial or exterior stair systems usually benefit from professional crews.
Hire a pro if:
- Structural repairs are needed
- Anchoring systems are complex
- Code inspections apply
- Custom treads are involved
- Weather exposure is severe
Stairs are safety-critical—mistakes can be costly.
Final Thoughts: Installing Precast Concrete Stair Treads Correctly
Precast concrete stair treads offer outstanding durability and performance—but only when installed properly. Careful preparation, accurate leveling, solid bedding layers, secure anchoring, and weather-conscious detailing ensure the stairs remain safe and attractive for decades.
Whether you’re upgrading an exterior entryway or constructing a large commercial staircase, following professional installation practices is the key to long-term success.